Charcuterie boards have gained popularity in the last few years, with supermarkets seeing an increased demand for these artisan goods in 2020. While charcuterie boards are typically made with cured meats and cheese, they can be made with anything!
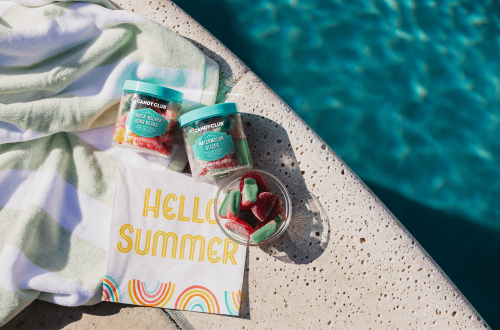
If you are thinking of making a beautiful and delicious charcuterie board for a special occasion, you may want to put a twist on the classic by making a candy charcuterie board.
Do you want to learn more about building the perfect dessert boards for your next event? Keep reading this guide for the top tips to follow when making a candy grazing board for your upcoming parties.
Find the Right Board
Choosing the right type of charcuterie board is one of the first things you should do when creating a candy charcuterie board. You can use nearly anything you want for your display, including a platter, a serving tray, a wooden cutting board, or even a festive serving dish!
If you are worried about your candy falling off of your dessert board, you may want to find a platter with sides to keep the candy on your tray.
It is also important that you choose the right size for your board. If you choose something too small, you will not be able to fit enough candy on your charcuterie board. If you choose one that is too large, you will have spaces that make your tray look empty and picked over.
You also need to pick the right size for your event! If you are hosting a large party, it would be best to have a larger tray that can hold plenty of candy. If you are making a candy charcuterie board for a date night or a movie night with your family, something smaller would result in less waste.
Pick a Theme
Next, you should pick a theme for your candy charcuterie board! This will improve the aesthetics of your charcuterie board and will make it easier to find themed candy for your event.
For example, you can do a gummy candy theme! This way you can include everything from gummy worms to gummy straws, gummy bears, and more.
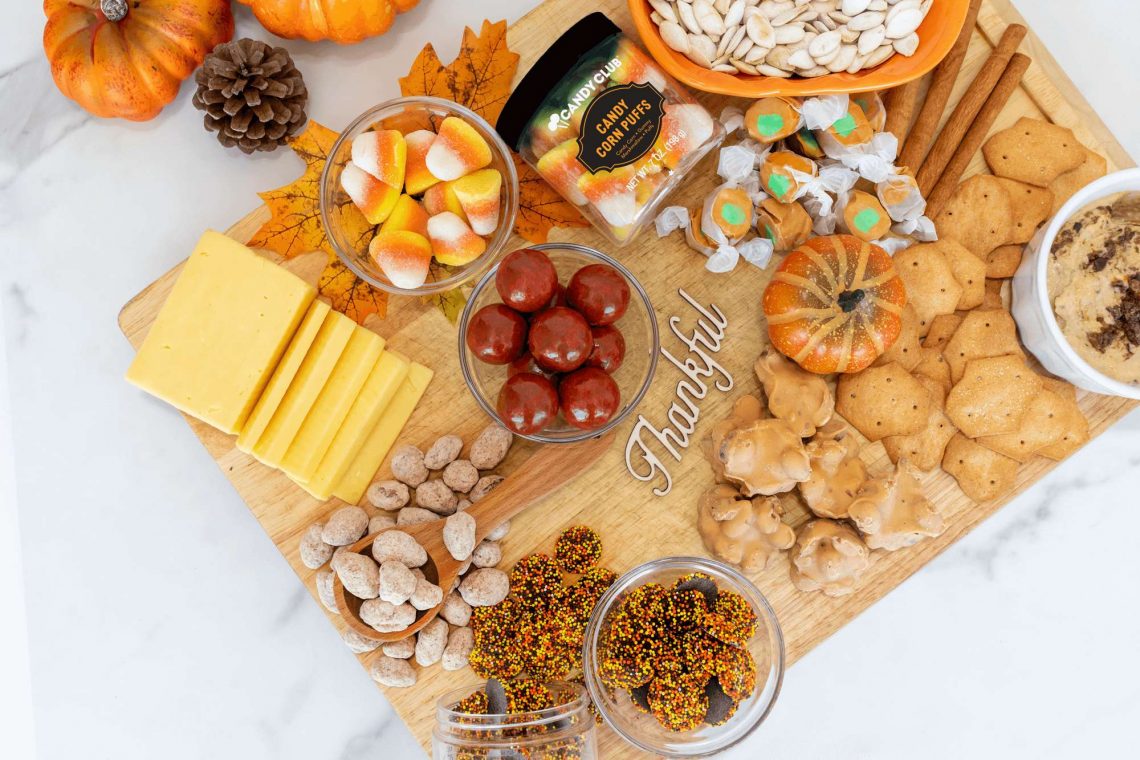
You could also pick a theme based on the season. For example, you can create a Halloween candy board or a board for another holiday to make it festive and fun.

Choose Your Favorite Candies
After coming up with a theme for your charcuterie board, you can start choosing your favorite candies! Your choices may be influenced by your family’s favorite snacks, the season, and what you can find at the store.
Make sure you choose an assortment of treats so that everyone has something they can choose from on the charcuterie board.
You should also make sure that you only choose snack-sized treats. This way, you don’t have to worry about having to cut your candy to a smaller size.
Group Candies Together
Once you have all of your supplies gathered, you can begin to group your candies! When you group your candies, you should try to have some sort of focal point.
It is typically best to include a few small dishes or bowls to hold your smaller candies in place. This way, your candy will not slide around and the borders between each candy will be clear. This will also add visual interest to the candy tray and will make it look better organized!
Try placing several small bowls around your tray and filling them first. Then, you can use other types of candy to fill in the space around the bowls.

Partition by Colors, Textures, Sizes, and Flavors
When you are grouping the candies, you should try to group the same candies. Then, you can begin to partition the candy by color, texture, size, and flavor. While this doesn’t need to be planned out too much, having different types of candies next to each other will add interest to your candy board.
For example, you may not want to have several types of chocolate right next to each other. Instead, you may want to have chocolates next to sour candy. This will make your charcuterie board more inviting for your guests, no matter what types of candy they like.
Add Other Decorations
Something that can take your candy board to the next level is to add other decorations to match your theme! Not only will this improve the appearance of your charcuterie board, but it will also help you avoid unnecessary gaps.
For example, if you make a Halloween charcuterie board, you can add some plastic decorations to make your board look spooky and festive.
@lovecandyclub BOO! 👻 Halloween Candy Cups are live on our site. Get all these spooktacular sweets now! 🎃 #candy #candyclub #halloween #halloweencandy #gummycandy #treatboard ♬ original sound – Will Wuich
Fill in All the Gaps
Finally, the key to a great charcuterie board is to fill in all of the gaps! If you have too much space between the different types of candy, it may look unfinished or partially eaten.
It is simple to fill in the gaps in any charcuterie board. Just use some type of small candy and pour it into the spaces! This will not only fill the gaps, but it will improve the flow of your charcuterie board.
Start Creating a Candy Charcuterie Board
When you are planning an event, creating a grazing board is an easy and aesthetically pleasing way to feed your guests. Following each of these tips will make it simple to create a candy charcuterie board for your next party!
Want to get started ordering your charcuterie board candies? Check out Candy Club’s selection. Our gourmet candies will elevate your gathering with a dessert board that’s just as fun to look at as it is to eat!