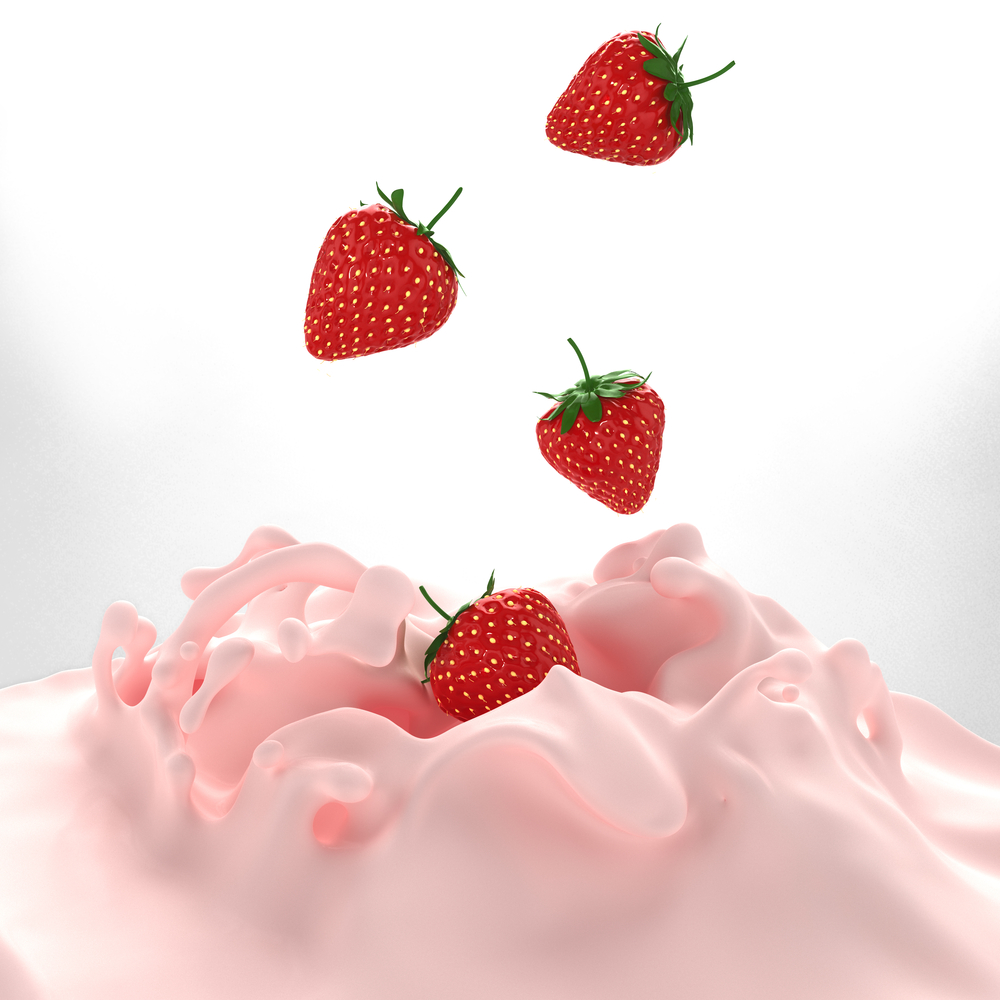

If you’ve been on Pinterest at any point over the last several months, you’ve probably seen—and marveled at—a picture of a geode cake. These out-of-this-world creations make cake decorating educational and make education fun. And they look amazing while they’re at it!
Whether for a themed birthday party or just for a challenge, our guide to making rock candy cakes will walk you through everything you need to know about this delectable candy-themed trend.
What is a Rock Candy Geode Cake?
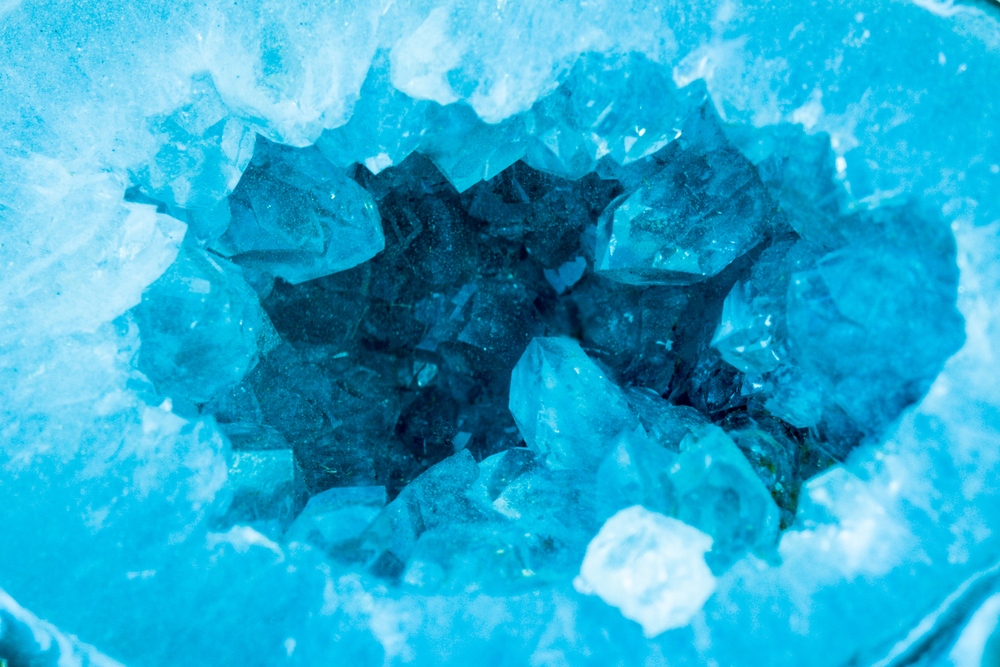
First, it helps to know what geode is! A geode is a small rock cavity that is lined with layers of brilliant and sometimes colorful crystallized minerals.
Incorporating the sparkling look of a geode into sugary-sweet baked goods has become a huge trend this year, with the help of another nature-inspired favorite: rock candy. The glitzy, crystalline texture and bright colors of rocky candy transform a cake into a beautiful (and delicious!) space gem. This is a cake decorating skill that you can learn to wow all of your friends and family members.
Luckily, learning how to make rock candy geode cakes is much simpler than it may seem. And if you want to get really creative, try making your rock candy from scratch – it can even turn baking into a fun science experiment with the kids.
What You’ll Need
Amateur bakers, don’t sweat – most of the ingredients can be bought pre-made, like the fondant and rock candies. Of course, if you want to flex your skills with some homemade ingredients, be our guest! Here’s what you’ll need to make your very own rock candy cake:
- Two cakes: If you want to create a two-tiered geode cake, you will need two cakes in slightly different sizes. Start with an 8-inch round cake on the bottom and a 6-inch round cake on top.
- Clear piping gel
- Fondant
- Buttercream frosting
- Rock candy: This recipe works best if you have different shades of the same color. For example, you could use dark blue, medium blue, and light blue rock candies. Regardless of which color you choose, you should always have white rock candy pieces as well.
- Edible gold leaf
- Small paintbrush
- Makeup brush

How to Make Your Rock Candy Geode Cake
- Cover both of the cakes with fondant in a color of your choice. If you’re new to fondant, there are plenty of how-to guides to get you feeling comfortable!
- Place sharpened dowel rods into the larger of the two cakes for support. The rods should be cut so they are the exact height of the cake. It’s best to use three rods and place them in a triangle.
- Once the three dowel rods have been placed inside the larger cake, place the smaller cake on top.
- Use an edible pen to draw the shape of the geode, which should be something like a pointed oval, on your cakes.
- Using a knife, begin to carve out the cake within the geode shape to create a deep cavity.
- Cover the cake that is exposed within the geode cavity with buttercream frosting.
- Apply piping gel down the center of the geode cavity, and then place the darkest color of rock candy pieces on top of the piping gel. The rock candies should not be placed in a perfect straight line. In fact, it looks more natural if they have jagged edges.
- Apply piping gel to the areas surrounding the dark-colored rock candy pieces, and apply the second darkest shade of rock candy to this area.
- Apply piping gel around the second darkest shade of rock candy, and begin to apply the lightest shade of rock candy to this area.
- Apply piping gel around the outermost edge of the geode cavity and place white rock candy pieces on top of the gel. The entire cavity should now be covered in rock candy pieces.
- Dampen a small paintbrush and brush it on the fondant along the perimeter of the geode cavity.
- Grab a thin strip of gold leaf using tweezers and carefully place it on the area you just moistened with your paintbrush. You will need to apply the gold leaf in small pieces so it is easier to manage.
- Take a large makeup brush (one that is used to apply blush) and dab it on top of the gold leaf to push it in place.
- After you have covered the entire perimeter of the geode cavity with gold leaf, see if there is any space between the gold leaf and the first layer of rock candies. If there is, you can apply additional white rock candies to fill up the space.
- If you have leftover rock candy, feel free to add a border of rock candies between the two layers of cake using piping gel as an adhesive.
And, voila—you finally know how to make rock candy geode cakes like the ones you’ve been eyeing on Pinterest. Remember, this recipe should be used as a basic guide. If you feel comfortable, feel free to be creative and add additional finishing touches to your masterpiece!
Get Inspired with Candy Club
Can’t get enough candy-themed cake decorating ideas? Check out our other posts on using candy in desserts, or just get inspired with the delectable selections of our candy boxes. We can’t wait to sweeten your day, or help you sweeten someone else’s!