We all know Halloween is the best candy holiday ever and Valentine’s Day is a chocolate gold mine, but there is another underrated candy holiday that deserves some love: Easter!
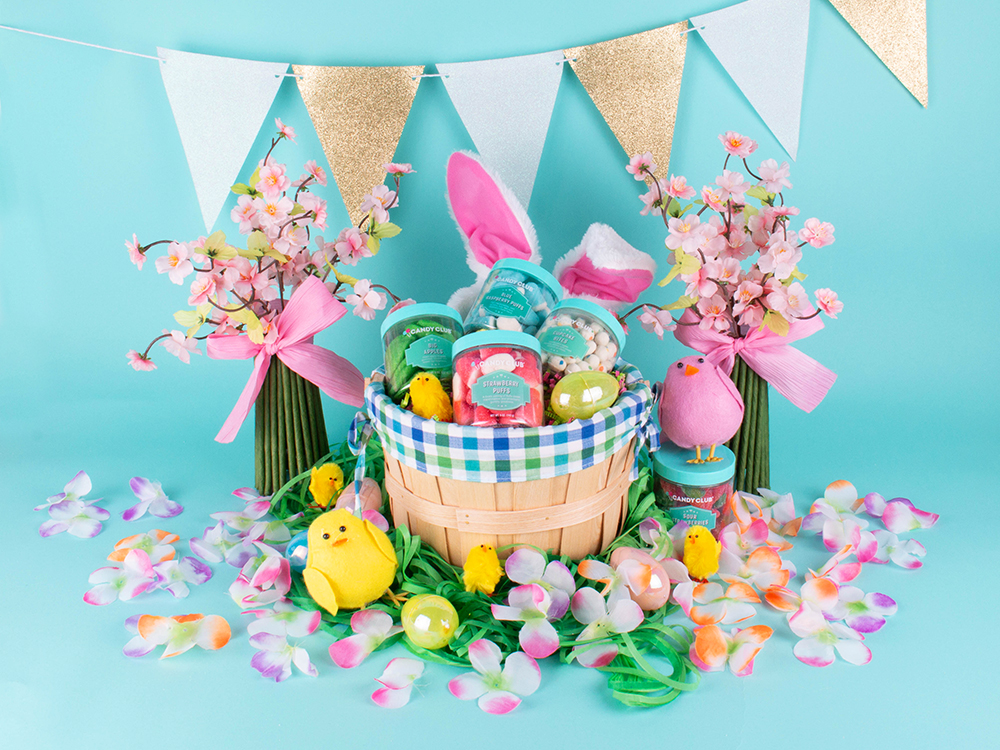
Easter is just around the corner, so it’s time to bring on the jellybeans and chocolate Easter eggs. Although there are plenty of great Easter candy options, that still leaves you with one question: how will you package the candy for Easter morning? Cue these adorable DIY Easter baskets.
Whether you can’t find any baskets you like at the store or you prefer a homemade and personal touch, a DIY Easter basket is guaranteed to wow kids of all ages on Easter morning. If you’re unsure where to start and need some Easter basket ideas, look no further than this Feathered Candy Chick Easter Basket!
DIY Easter Basket Materials You’ll Need:
Before you can start making your DIY Easter basket, you’ll need to gather the right supplies. If you’re a crafty person you probably have most of these materials around the house, but if you need to go shopping first you can find everything you need at your local craft supply store (or Target!) Here’s what you’ll need:
- Metal bucket
- Light yellow spray paint with built-in primer
- Darker yellow card stock and orange card stock. These can be a solid color or a pattern– whatever you prefer!
- Fine-grit sandpaper or steel wool
- Paper
- Pencil
- Small chip brush
- Multipurpose glue
- White and/or yellow feathers
- Small black sequins, beads, or rhinestones
- Powder brush (optional)
- Easter grass to fill the bottom of the bucket
- Candy and other goodies
Here’s How to Make Your DIY Easter Basket:
- First things first, remove any labels or stickers from the bucket. If you can’t get them to peel off easily, sandpaper or steel wool can be used to smooth the label residue off the bucket. Worst case scenario, Goo-gone spray will work.
- Set up your workstation. Put down cardboard, newspaper, or an old tablecloth you don’t mind ruining with spray paint.
- Spray paint a layer of the lighter yellow paint on the interior and exterior of the bucket. Let the paint dry, then apply another layer. You can apply a third layer if necessary. *See below for spray painting tips.
- Next, create a template for the beak, wings, and feet of the chick. Sketch the templates on a piece of paper. To create the beak, draw two triangles connected by a rectangle.
- Cut the templates out and use them to trace the beak and feet onto the back side of the orange cardstock paper out. Use the yellow paper for the wings. If you want the wings to be sturdier or to have the color/pattern on both sides, fold the yellow cardstock paper in half before tracing the template onto the cardstock paper. Cut the beak, feet, and wings out.
- Trim the quills of the feathers. The quill should be only two or three inches long. Glue the feathers to one side of the feather paper pieces.
- Next, fold the beak. Take the beak piece of the orange card stock and fold both triangles in towards the center, leaving the rectangle in the center flat. This will give the beak a three-dimensional look.
- Find the center of the bucket and mark it lightly with a pencil. Glue the beak to the spot you marked with your pencil. Then, attach the black sequins, beads, or rhinestones as eyeballs. Flip the bucket upside down and glue the candy chick’s feet on.
- Next, you will need to decide the placement of the chick’s wings. Once you figure out where you want each of them placed, lightly mark the bucket with pencil. Put glue on the straight edge of each wing and then attached the wing to the bucket. Wait for the glue to dry, then bend the wings so they stand out more.
- Take the leftover yellow cardstock and cut a little tail. Attach some feathers to the back of the paper tail, then glue the tail to the bucket with the feathered side on the bottom.
- Attach a few feathers to the inside of the front of the bucket. If you have powder brush handy, give your chick’s cheeks a little rosy touch by applying blush with your fingers.
- Fill the inside of the bucket with Easter grass or excelsior paper, then put in whatever candy, treats, goodies, or toys you want to fill the DIY Easter basket with.
*Hold the can of paint six to eight inches away from the bucket when spraying. This way you will get a more even coat. If you get too close, you can cause the paint to drip. No worries if the paint does drip– the steel wool or sandpaper can be used to smooth it out before you apply your final coat of spray paint.
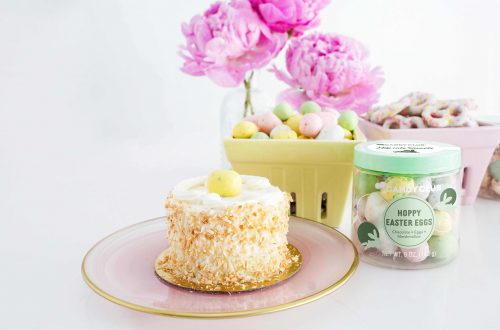
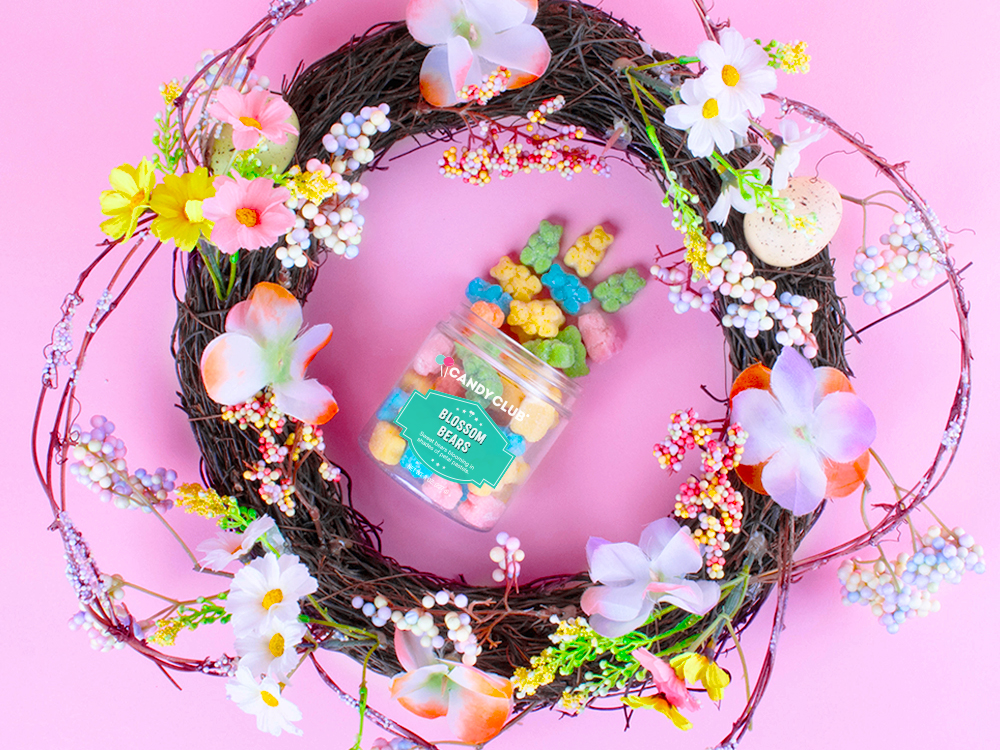
Easter Sweets
If you’re looking for some extraordinary candy to fill your little chickadee with, we’ve got you covered. From sweets to sours, Candy Club is the best source for Easter candy. You can even make adult versions of these DIY Easter baskets by including the recipient’s favorite beer or wine, or you can make it bubbly with a bottle of champagne and a bubble wand. And don’t forget the vegan-friendly candy for your vegan friends!
No matter what you add, these adorable DIY Easter baskets are sure to be the star of Easter morning!