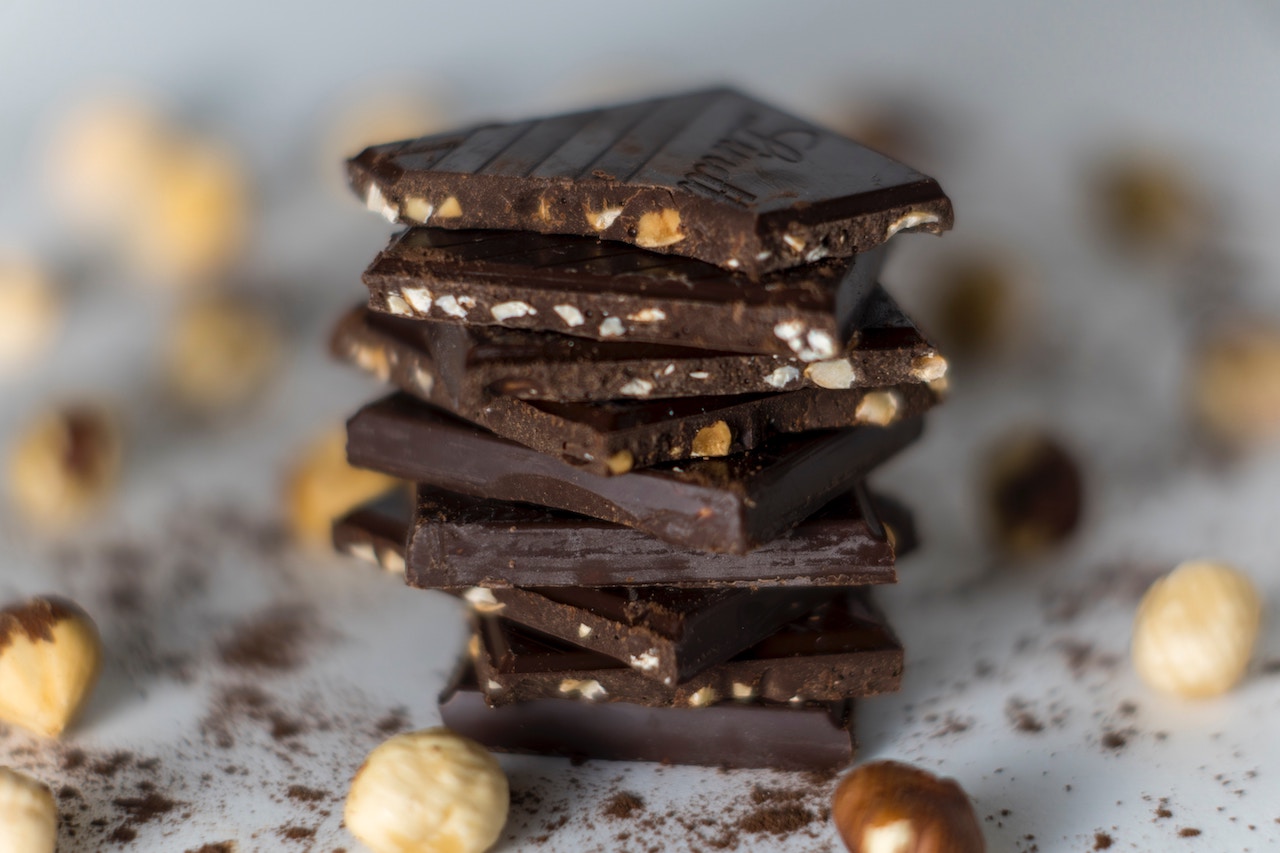

Gift giving doesn’t have to be a difficult process, especially when you can give someone candy. After all, candy is the perfect gift: there is a candy out there for everyone, and we could all use a little sweet treat to brighten up our day. However, you don’t want to show up to your friend or family member’s party and hand them a grocery bag full of store-bought candy. (Or maybe you do, we’re not here to judge!) But if you want to make your gift stand out, it’s all about how you package it!
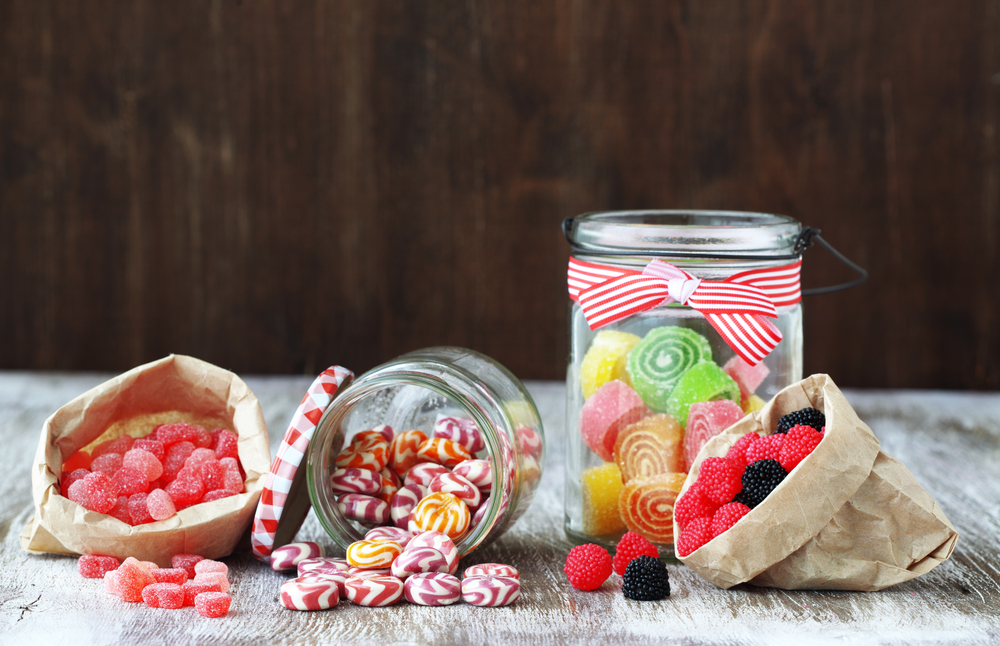
Fortunately, you can add a little pizzazz to your gift by gifting it in mason jars filled with candy. Custom candy jars are a great way to give everyone their favorite, classic candy and it allows you to make the gift more personal. With one of these custom candy jar ideas, you can even tailor the gift to match the occasion!
Football Party Favor Jars
If you are having everyone over to watch football, don’t just put out candy in a plain old bowl. ‘Wow’ them with these DIY Football Party Favor Jars! The best part: refill the jars once they’re empty and they can double as party favors filled with delicious candies for your friends. This candy jar idea is super easy to make, too. All you need is a little acrylic paint and some mason jars.
Materials Needed:
- Brown acrylic paint
- White acrylic paint
- Sandpaper
- Paintbrush
- Wound closure tape
- Clear coat sealant
Instructions:
- Start making your football jar with a base coat, paint a layer of white onto the outside of the jar and let it dry.
- Tape off thread lines of the football with ¼” strips of wound closure tape. Washi tape or painters’ tape will also work just fine; they will just need to be cut thinner.
- Paint a coat of brown acrylic paint on the outside of the jar. Let it dry overnight.
- Once the brown acrylic paint is dry, distress with sandpaper to give it that football texture.
- Finish with a clear coat sealant, fill with candy, and voila!
DIY “Dad’s Stache” Candy Jar
What’s a better way to show dad you think he’s pretty sweet than by gifting him all of his favorite kinds of candies? We can think of one: when you put it in a jar with his name on it so no one else can eat his candy… without at least asking first! This “Dad’s Stache” printable label with a funky mustache will match your dad (or your dad’s personality, if he’s mustache free on the outside). Plus, this candy jar idea will let the rest of your family know exactly who that candy belongs to.
Materials Needed:
- Dad’s stache printable
- Mason jar or a clamp jar
- Twine
- Hole punch
- Dad’s favorite candies
Instructions:
- Use the hole puncher to punch a hole through the printed label.
- Take your string or twine and thread it through the hole you have created, then tie the twine around the mason jar or clamp jar of your choice.
- Fill the jar with dad’s favorite candies and give to dad. Maybe if he’s nice he’ll share!
DIY Footed Candy Jars
With this candy jar idea, you can spice up plain, flat-bottomed jars to make them look like something you bought at a fancy boutique in just a few easy steps. Not only will they wow guests at a party, but if your candies are in wrappers this DIY will look so cute you’ll want to keep it on display and full of candy all the time. And who wouldn’t love having mason jars filled with candy on display in their house at all times? You just will need a few materials, other than your favorite candy, of course.
Materials Needed:
- Round, flat bottomed wooden legs. (These can be bought in the wood section of a craft supply store.)
- Plain glass hurricanes or jars with bottoms smooth enough to glue the legs to.
- E-6000 glue, or any other glass-friendly glue
- Spray paint
- Painter’s tape
- Plain paper
Instructions:
- Put a dab of glue onto the flat side of one of the wooden legs. Let the glue set for a second, so it becomes tacky.
- Press the wooden leg into the bottom of the hurricane, flat side with the glue onto the jar.
- Repeat steps one and two until you have formed a triangle with the legs.
- Tape off the bottom section of the hurricane with painter’s tape. Everything below it will be what is covered in the paint. It’s up to you how much of it you wanted painted.
- Tape off a piece of paper along the top where you don’t want there to be any paint.
- Spray paint the exposed end of the hurricane and the bottom and let the spray-paint dry completely.
- Once the paint is completely dry, peel the tape and the paper off the top. Rinse out the middle and fill it up with candy!
Now for the Candy…
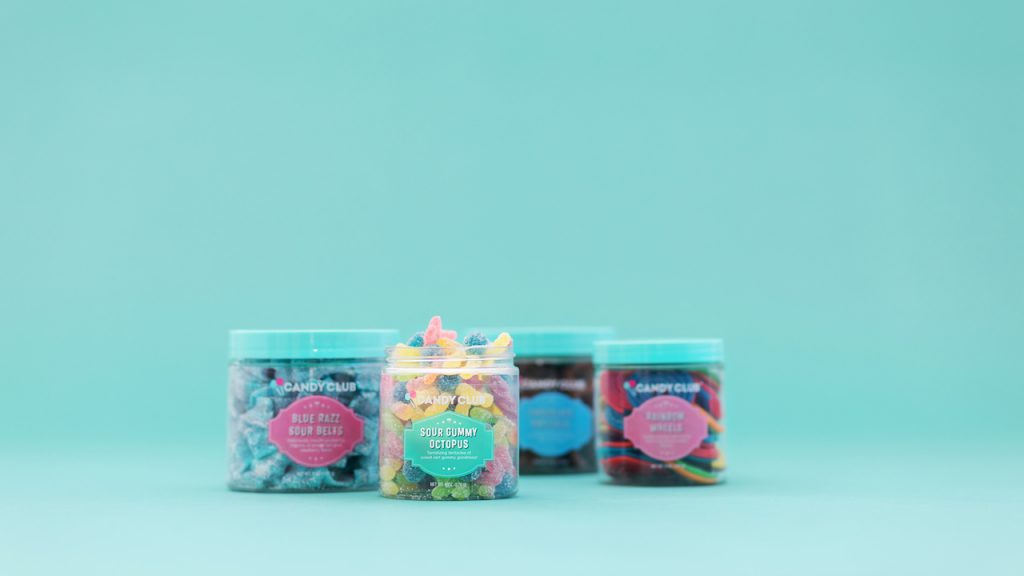
Once you’ve finished one of these custom candy jar ideas, you’ll need candy to fill them! And if we must say so ourselves, we’re up to the task! Although our candy already comes in cute little jars that are giftable as is, maybe you want to take it to the next level with one of these DIY projects. No matter what you decide, just select if the recipient prefers sweet or sour and we’ll help you out with the rest!